Fall 2020 Sewing Classes at LSUS

Fall Classes are currently available at LSUS.  Please visit LSUS Continuing Education to sign up for a class.  If a private lesson will fit your schedule better, please email me and we’ll set up a time.

Learn To Sew

10/06/2020
6:00 PM

How to Sew Gathers, Ruffles and More

10/20/2020
6:00 PM

Buttons, Zippers and Hems

10/27/2020
6:00 PM

Learn to use a Pattern

11/10/2020
6:00 PM
 

For more information, please like Needles, Nuts,  and Bolts on Facebook and join our NNB Sewing Classes group.

Social Distancing Sewing Class Supply List

If you are joining me on Facebook for my beginning sewing class, there are a few supplies you’ll need. You may already have some or all of it. Use what you have, no need to rush out and try to purchase anything.

If you don’t already have these items, you can find them at Walmart, Hobby Lobby, JoAnns, etc. If you would rather not leave the house, the list below links to the items on Amazon. (Disclosure: if you buy through these links, I will see a very, very small compensation. Thank you!) Or, you can let me know and order a kit from me. Details are below the lists.

Sewing Class Supply List

Supplies you’ll need:

Other items I like, but that are not necessary:

If you’d like to order a supply kit from me, you have two options. Box A includes everything listed under “Supplies you’ll need” and are $40 shipped or delivered. Box B includes just the fabric and thread and is $19 shipped or delivered. I’ll be mailing boxes Monday afternoon via USPS Priority Mail or delivering to your front porch if you live in Shreveport. To order, please message me on Facebook.

Pillowcases – Updated Instructions

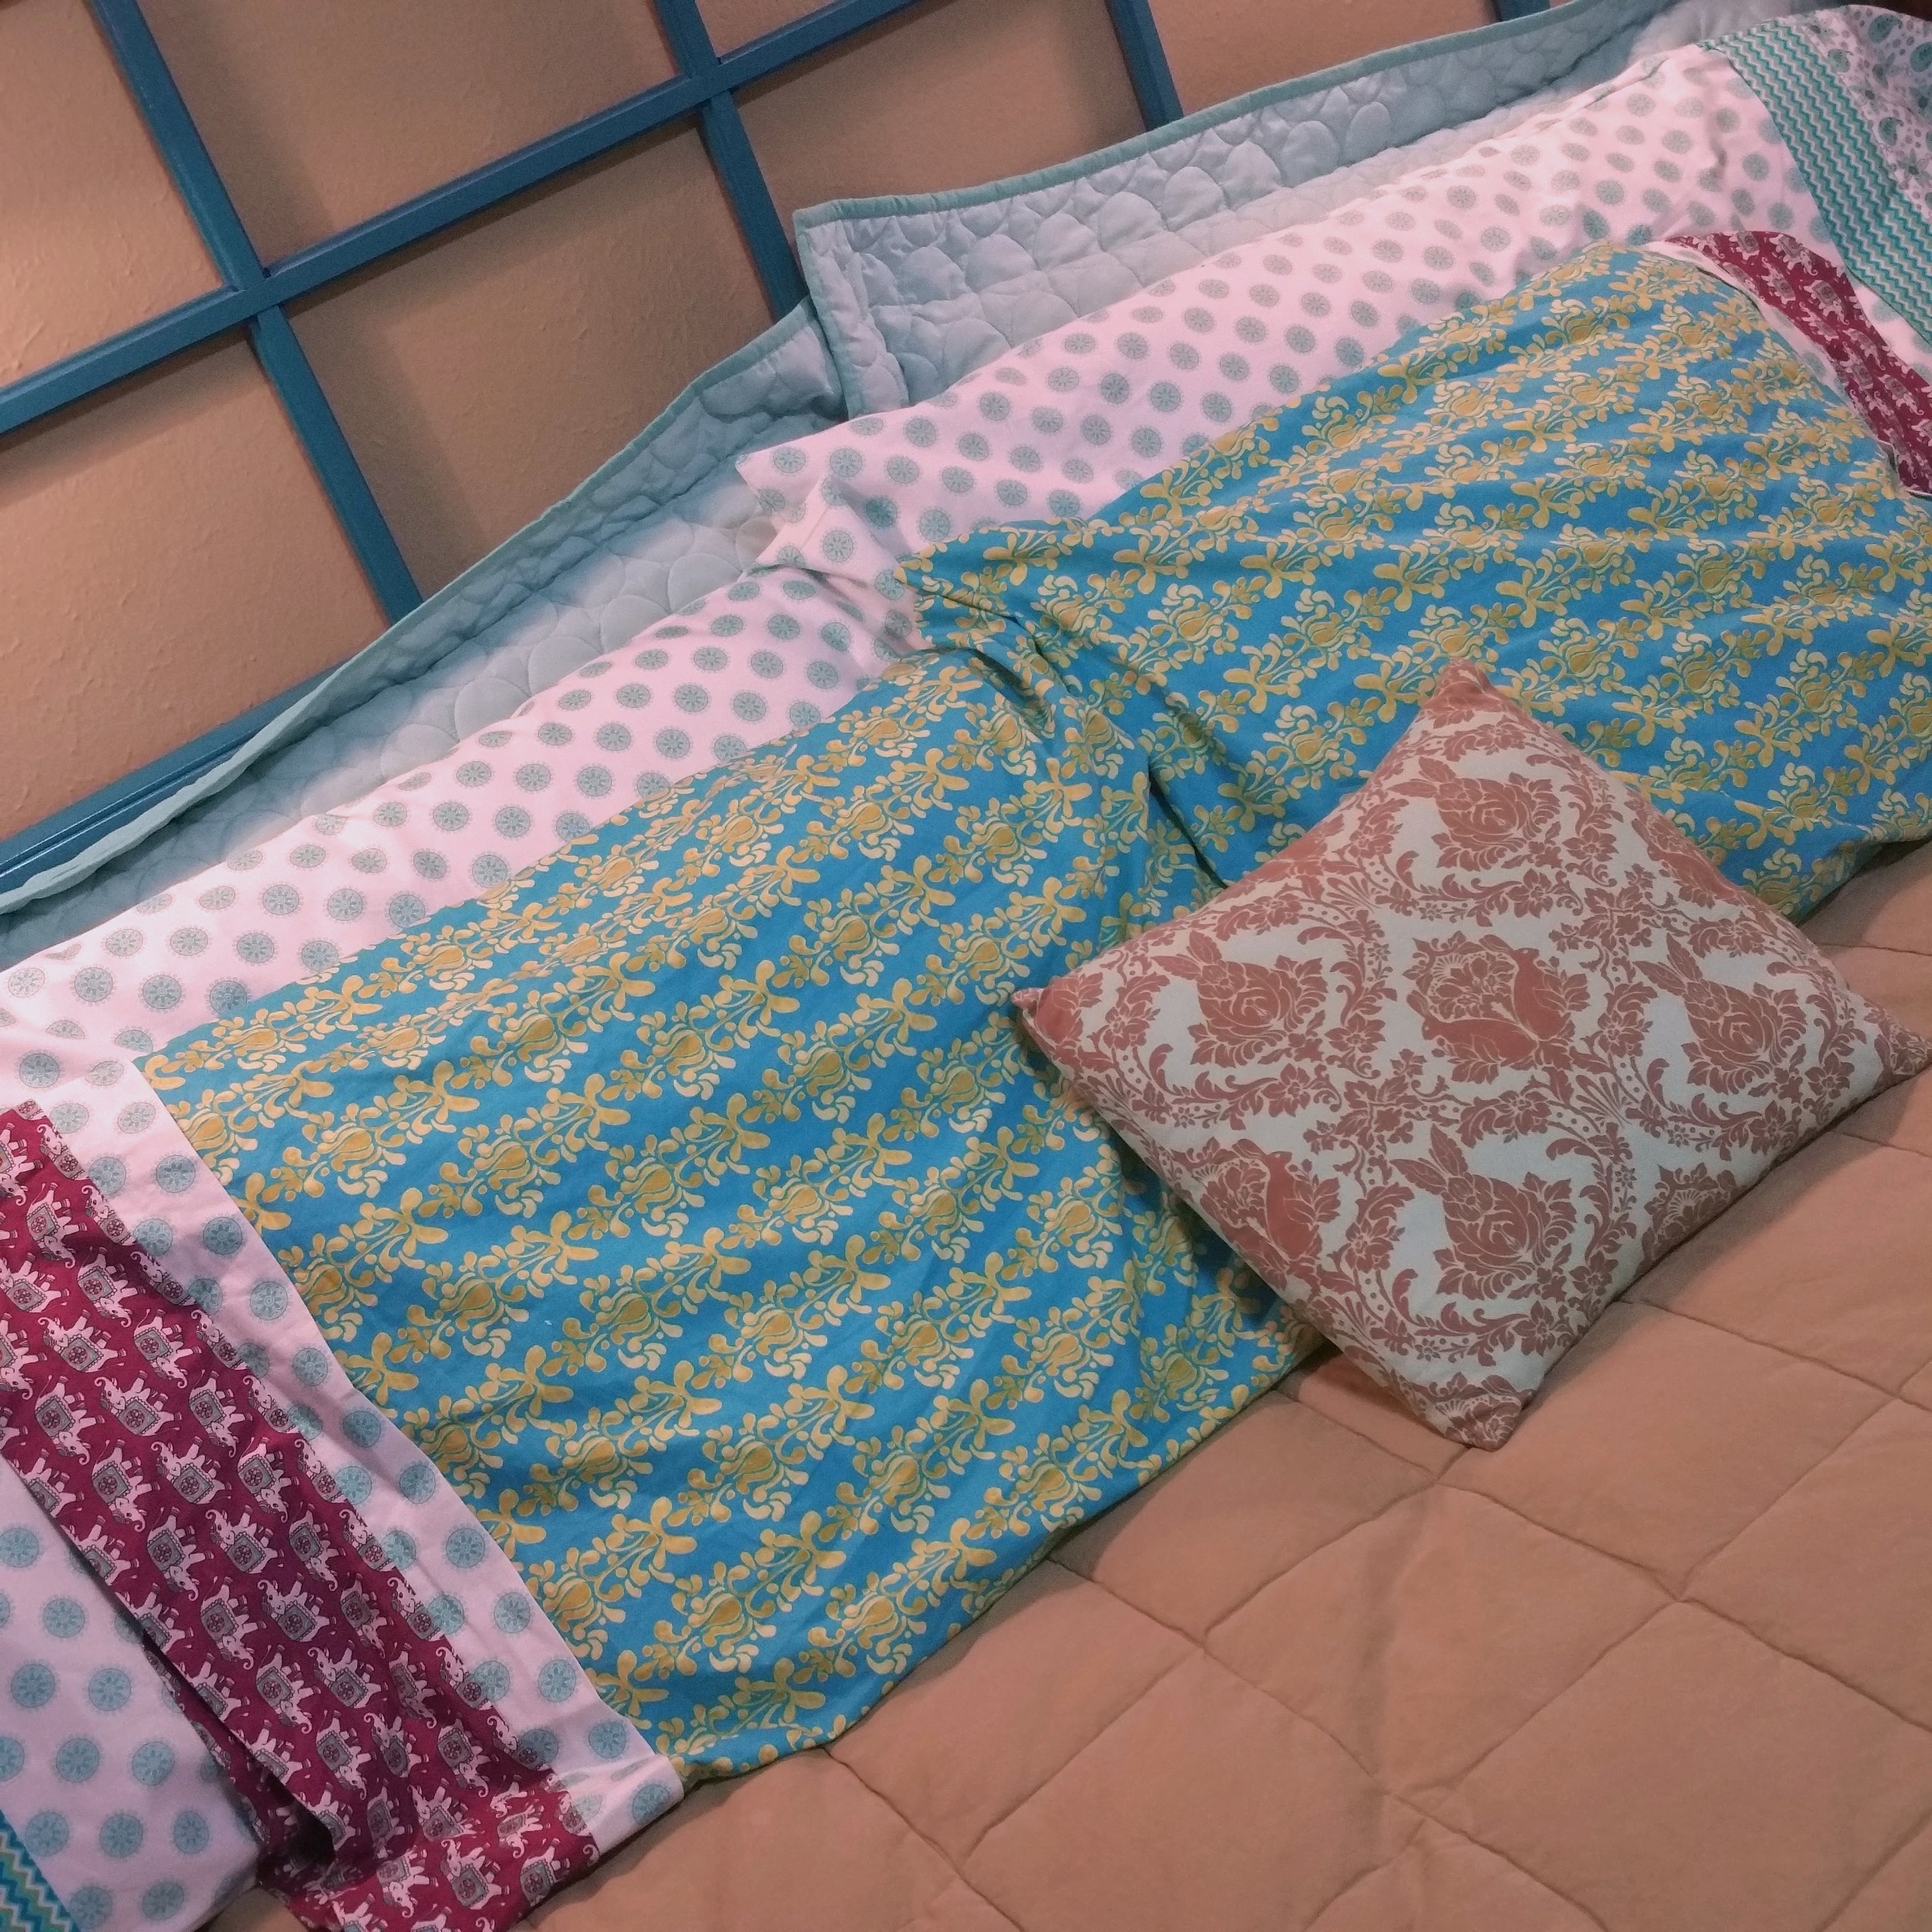
Simple pillowcases

If you’ve taken one of my beginner classes, you’ve probably made one of these pillowcases! I use this pattern for all ages because it’s a great opportunity to practice stitching straight lines. It also makes a great gift.

I’ve updated the instructions for the pillowcases. You can find it here.

The instructions include a tip on cutting your fabric strips for your pillowcase. You’ll find it even easier with a rotary cutter, a ruler, and a self-healing mat!

Scared of Using a .PDF Pattern? Don’t be.

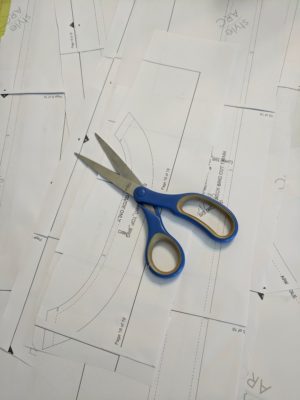
Are you letting the task of printing and taping together dozens of pages keep you from using PDF patterns? There are so many fun patterns floating around today and many of them are only available in PDF format. The process of “putting your pattern together” is crazy easy.

To use a .pdf pattern, you’ll need:

  1. your pattern printed out
  2. glue sticks (I like these.)
  3. paper scissors
  4. maybe a ruler or paper cutter (Only for some patterns.)

So, how do you put it all together?

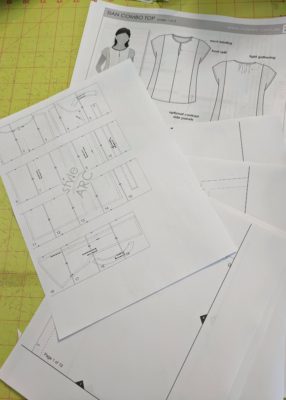
First, print it out. I use Adobe Reader to print mine. ONE MAJOR NOTE: make sure your scaling is set to 100% or full size before you print it out. Otherwise, you run the risk of your pattern being too small. The pattern pictured here was 25 pages long, 6 of infromation and 19 pattern parts. One page of instructions is the “map” for taping together the pattern pieces.

pdf patterns printed

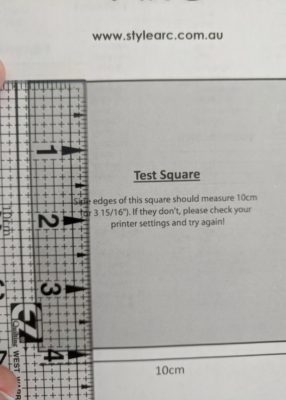
Double check that the size printed out correctly with the test square on your pattern. Every pattern designer worth their salt will include one of these. (By the way, I get asked in my classes about my favorite ruler. This is it.)

measuring test square on pdf pattern

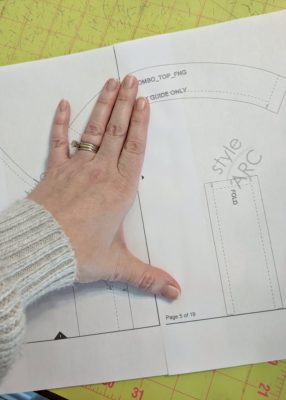
Paste your pattern together. You might need to cut off two edges (top and right, bottom and left, etc) before lining your pieces up. This varies by designer, but each will have that info on their site. For this pattern, the pieces just overlapped.

lining up pdf pattern pieces

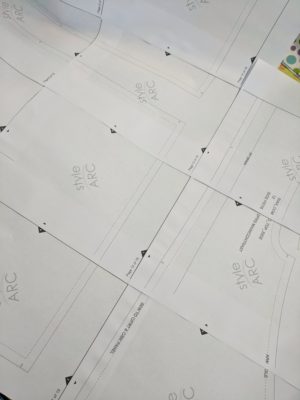
I like to use these Scholastic Glue Sticks to glue my pieces together. I’ve also used scotch tape and double stick tape, but this glue dries quickly and is much less expensive.

pdf pattern glued together

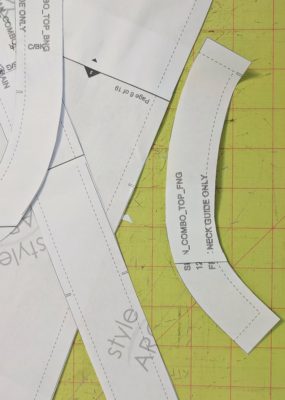
Once you’ve let it dry for a couple of minutes you are ready to cut it out. Don’t forget to use your PAPER scissors.

use paper scissors on pdf patterns

One last reminder, you’ll want to cut your pieces out precisely so that you aren’t cutting paper with your good fabric scissors while cutting the fabric.

cut pdf patterns precisely

Now that your pattern pieces are ready to go, everything else is just like sewing a tissue paper pattern! Using a .pdf pattern is really that easy!

Happy sewing.

Style Arc Diana Top

Piece #2 in my fall wardrobe capsule is complete: Style Arc’s Diana Top.
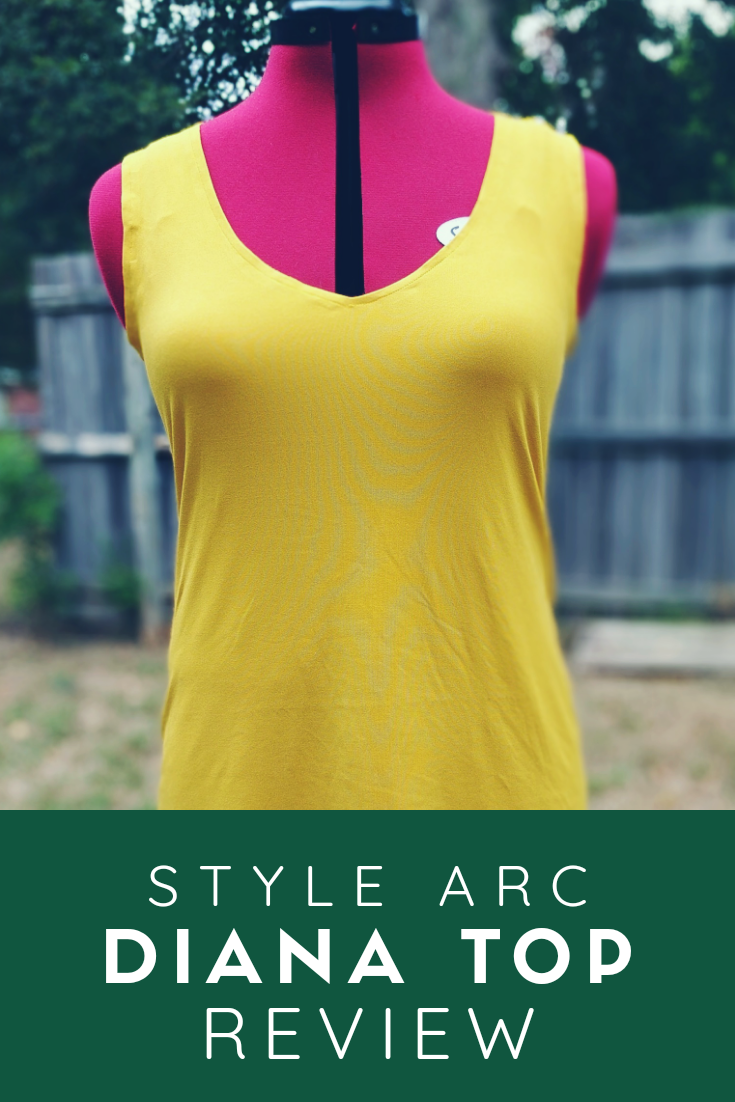
Style Arc Diana Top Review

Fall in the South means hot, hot, hot weather until at least October. But I’m jealous of all y’all wearing beautiful fall colors. So, when I was thinking about a fall capsule wardrobe, I wanted lightweight tops in beautiful fall colors. Enter a piece of mustard DBP in my stash and the Diana Top.
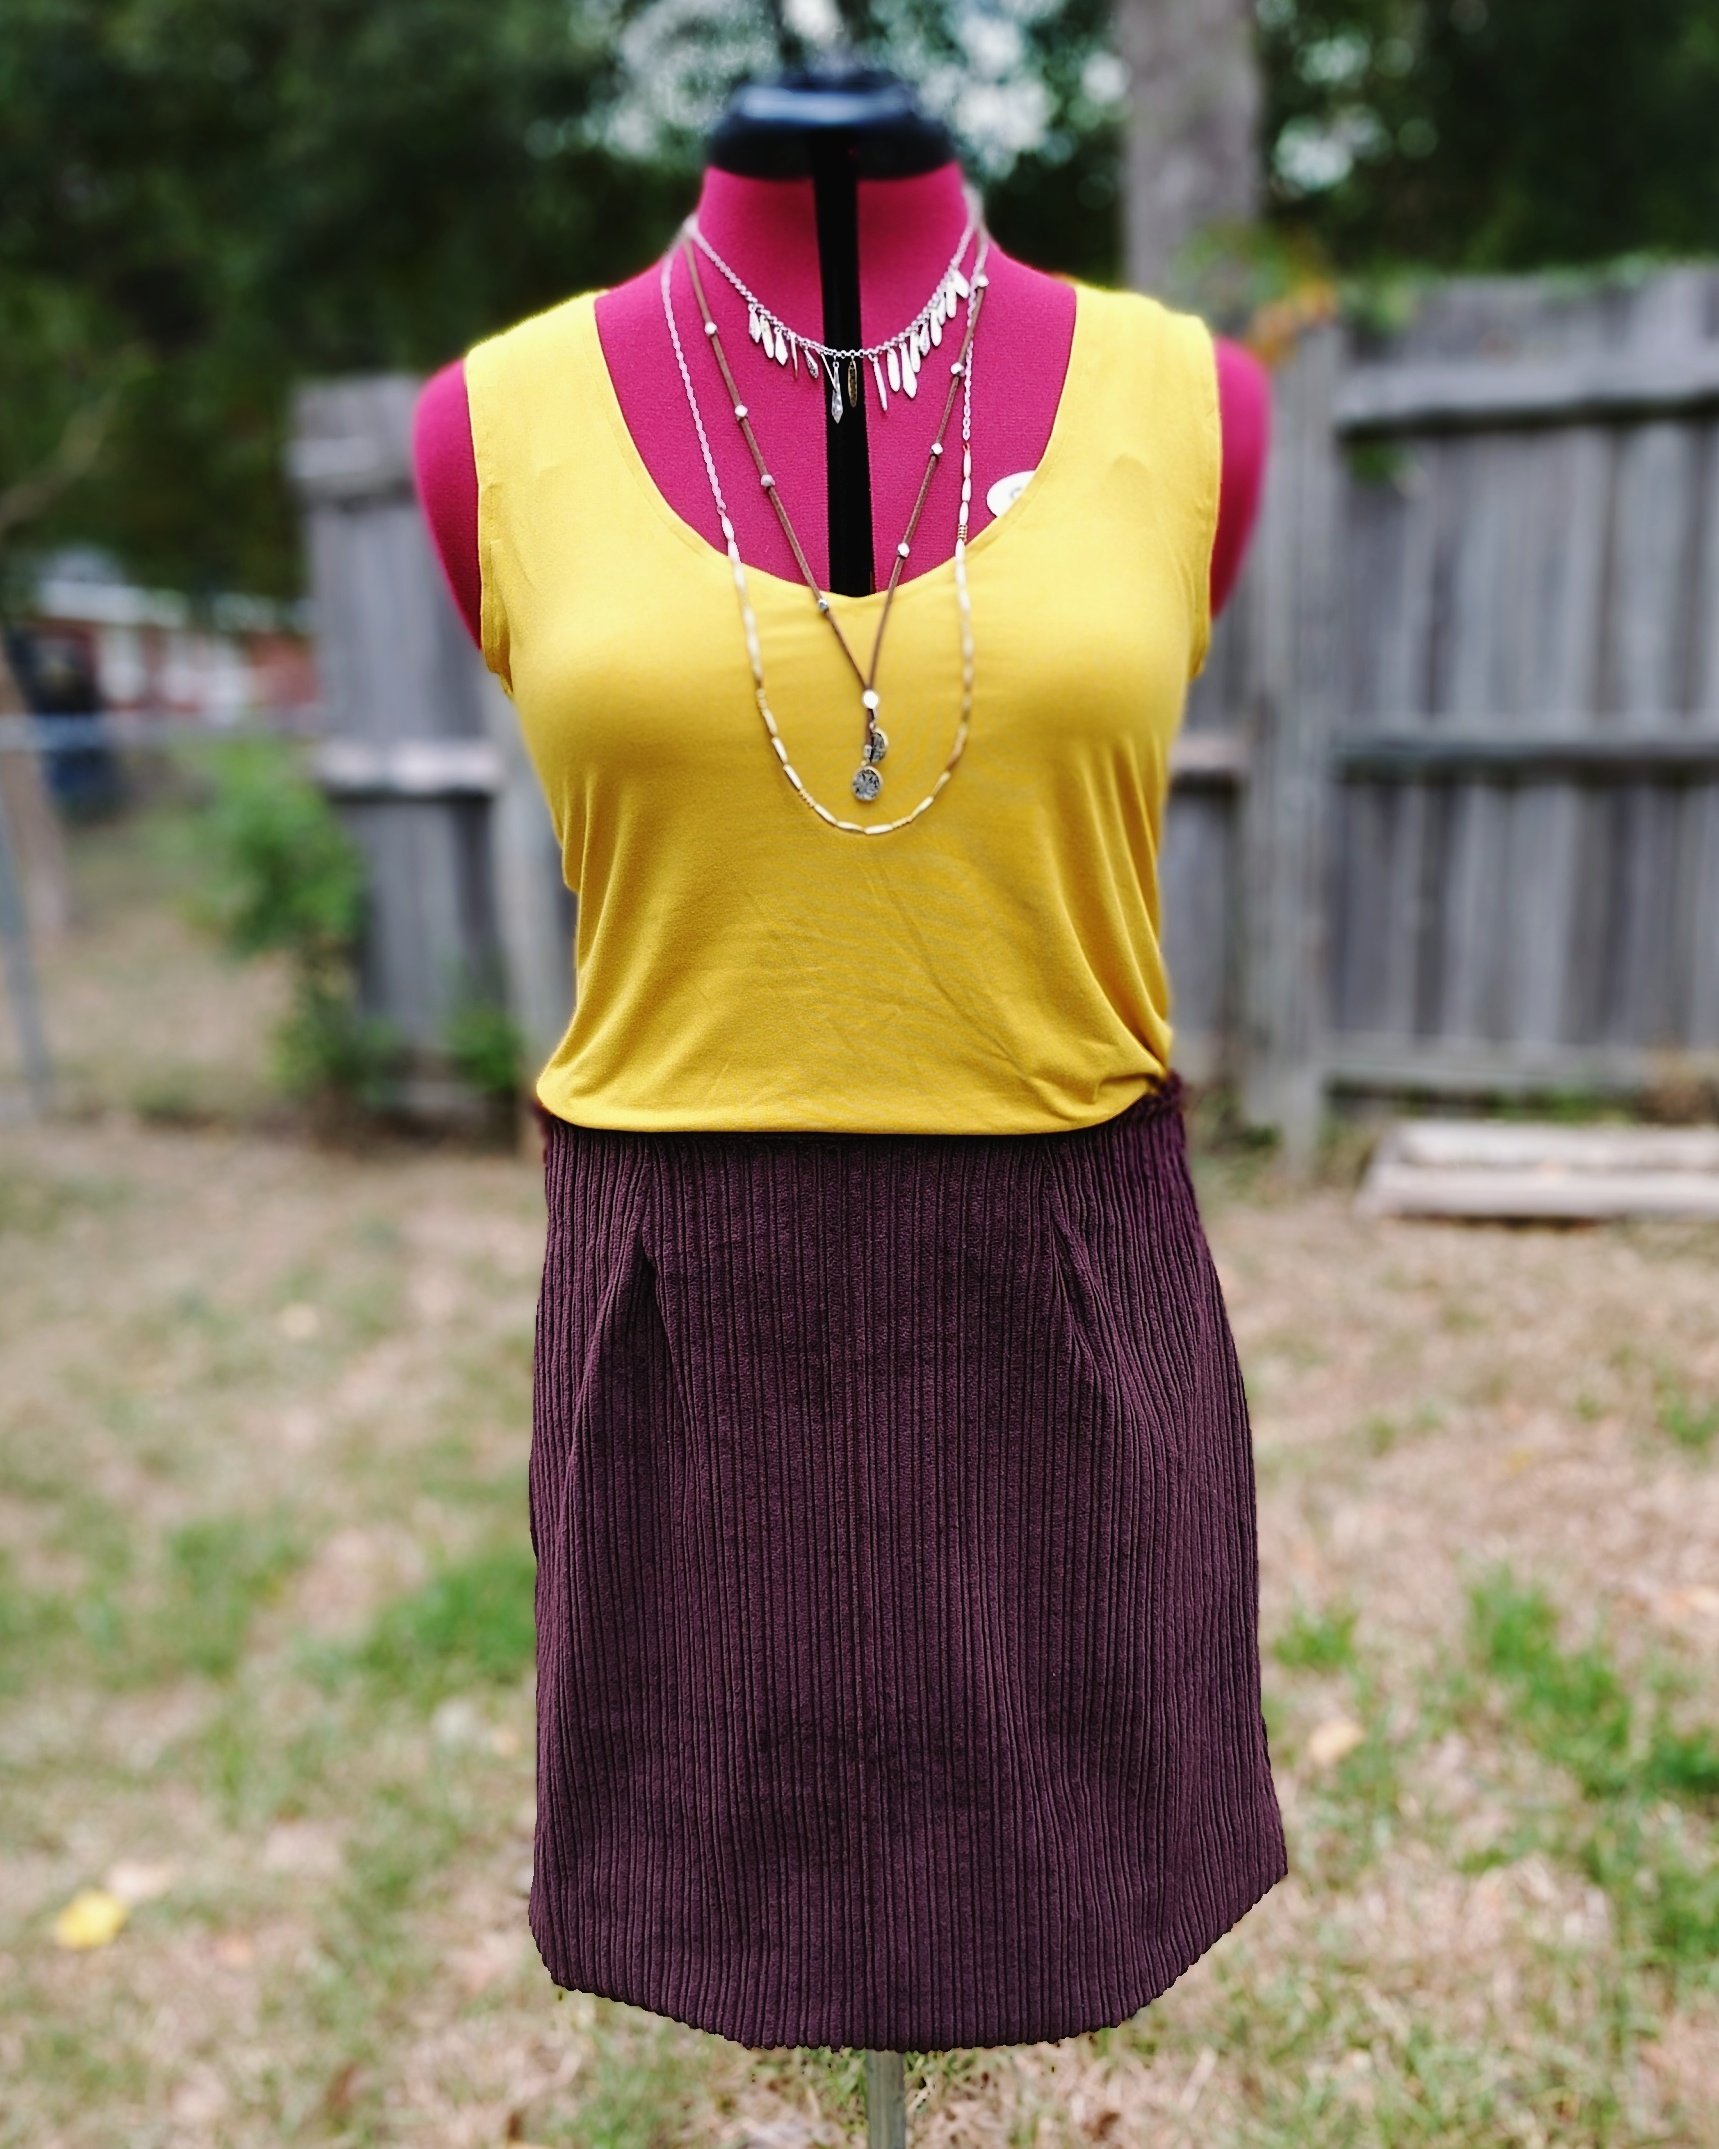
Pattern Review of Style Arc’s Diana Top

Description: Attractive neckline slightly fitted top

(You should know here that Style Arc Patterns are known for their brevity. That includes construction instructions.)

Pattern Pieces: I purchased the PDF format. The download was simple and the pattern taped together easily. I recommend that you print page 3 of the PDF first. This page has a square to measure to make sure your pattern is printing at the appropriate size. Make sure you printer is not set to “Scale to Fit”.

Fabric: The pattern suggests stretch jersey or knit singlet. I used a Double Brushed Poly from So Sew English. The fabric is super soft, a bit clingy, and a little bit warm.

Sizing: Style Arc sells their designs in single sizes. When you order, you get the size you ordered, plus the sizes on either size of that. Per their sizing chart, I always order a size 10. I also received sizes 8 and 12 in my downloads. I cut a size 10 in this pattern. The only change I made was to lengthen the pattern by 4 inches for a longer tank.

Construction: Again, I will point out that Style Arc has very brief construction instructions. In fact, they only list 8 steps for this garment. For that reason, I wouldn’t recommend this pattern to a very new sewist. But, it still was a simple sew.

This piece can be put together with a serger or a sewing machine. I used my sewing machine with a stretch needle and a stretch stitch. It’s a simple tank, so it’s just stitching the sides and shoulders together, and them hemming the neckline, armholes, and bottom.

Just a note, the pattern instructions tell you to “Fold under the neckline hem”. I had to pull out the hem gauge and measure the pattern edge to the fold line to see exactly how deep that hem should be. Not anything difficult, just one of those things that might not occur to a brand new sewist.

I enjoy Style Arc patterns because they fit me! The are designed for rectangles like myself. I’m finding lots of newer independent designers are drafting for pear or hourglass shapes and that’s just not my body shape.
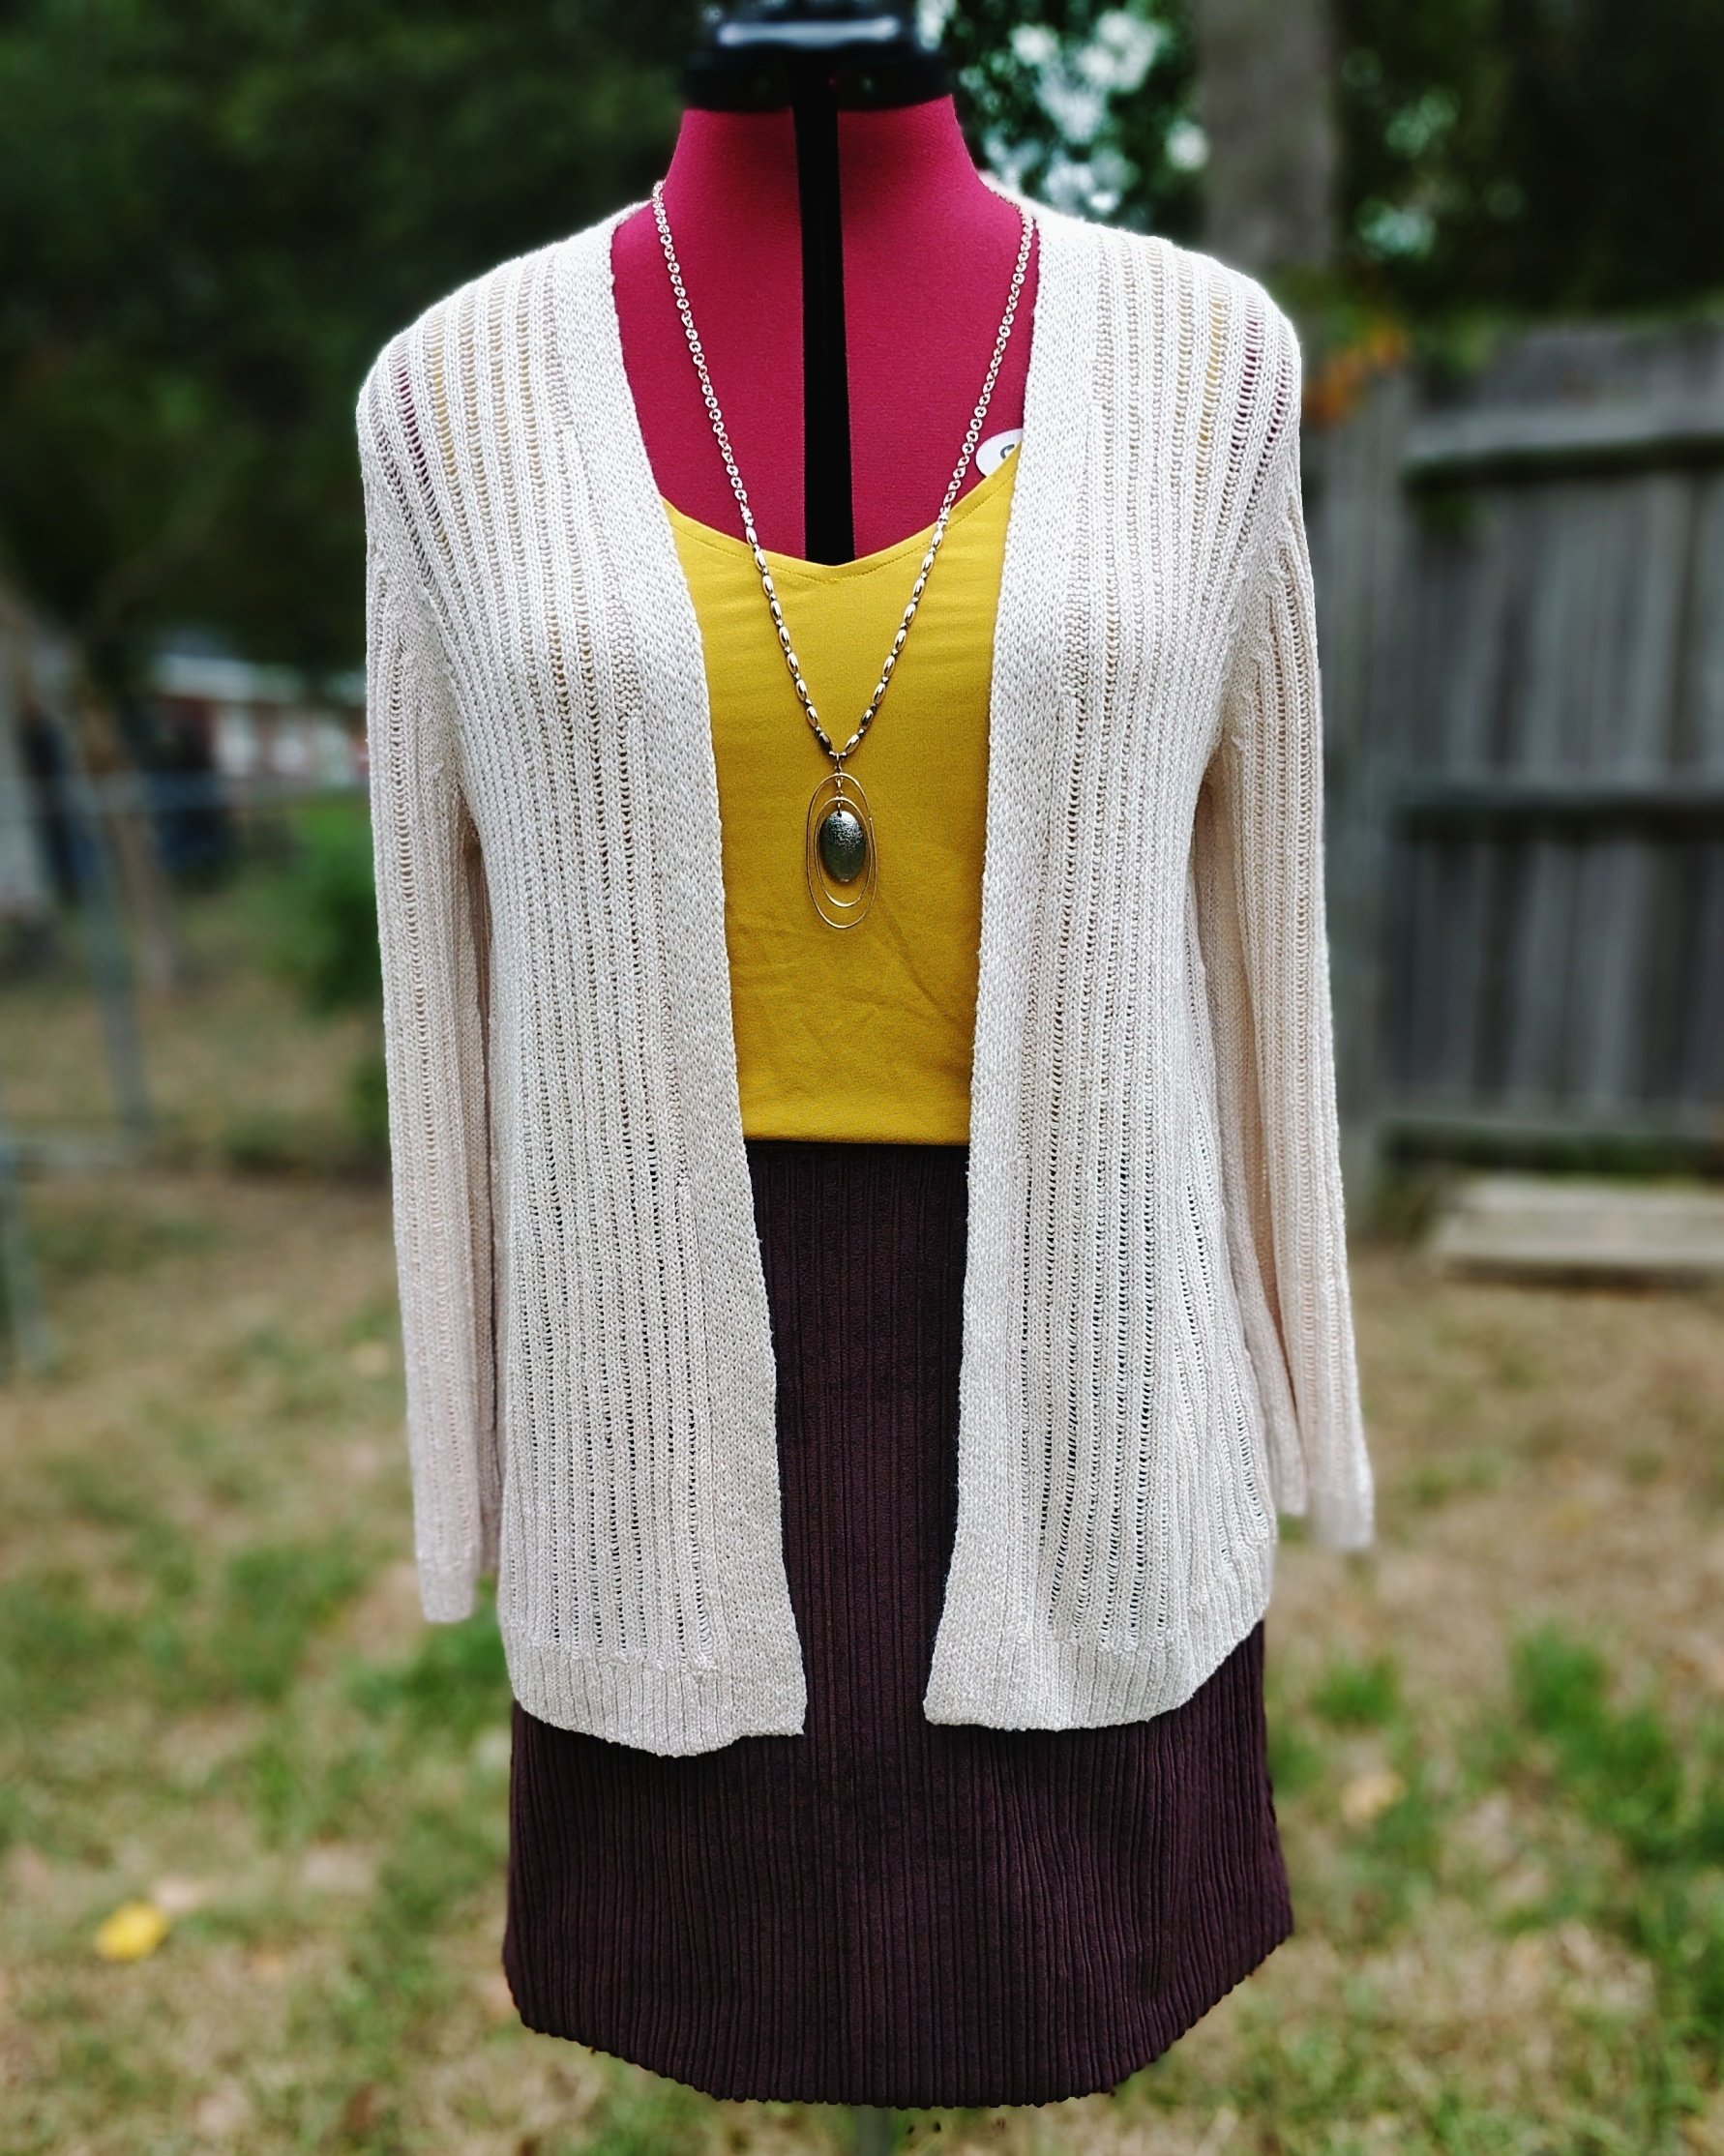
Style Arc Diana Top with sweater

Would I recommend this pattern?

Absolutely, to anyone with a bit of experience. Again, it’s not a difficult sew, but the instructions are sparse. I’ve stitched up 5 different Style Arc patterns and I’ve been pleased with them all.

Would I recommend this fabric?

Well, maybe. Personally, I don’t love double brushed poly. Yes, it is super soft, but it can be clingy and hot. It can also be challenging to sew with, but a walking foot, a stretch stitch, and, most importantly to me, a stretch (not jersey or elastic) needle, the task is much simpler.

I would also highly recommend the fabric shop So Sew English. I found them on Facebook were they post bundles and updates very regularly. Shopping was quick and the fabrics I’ve ordered have been exactly what I was looking for.

Home of Needles, Nuts, and Bolts Sewing Classes and Personality Children's Clohtes