Tag Archives: pattern reviews

Style Arc Diana Top

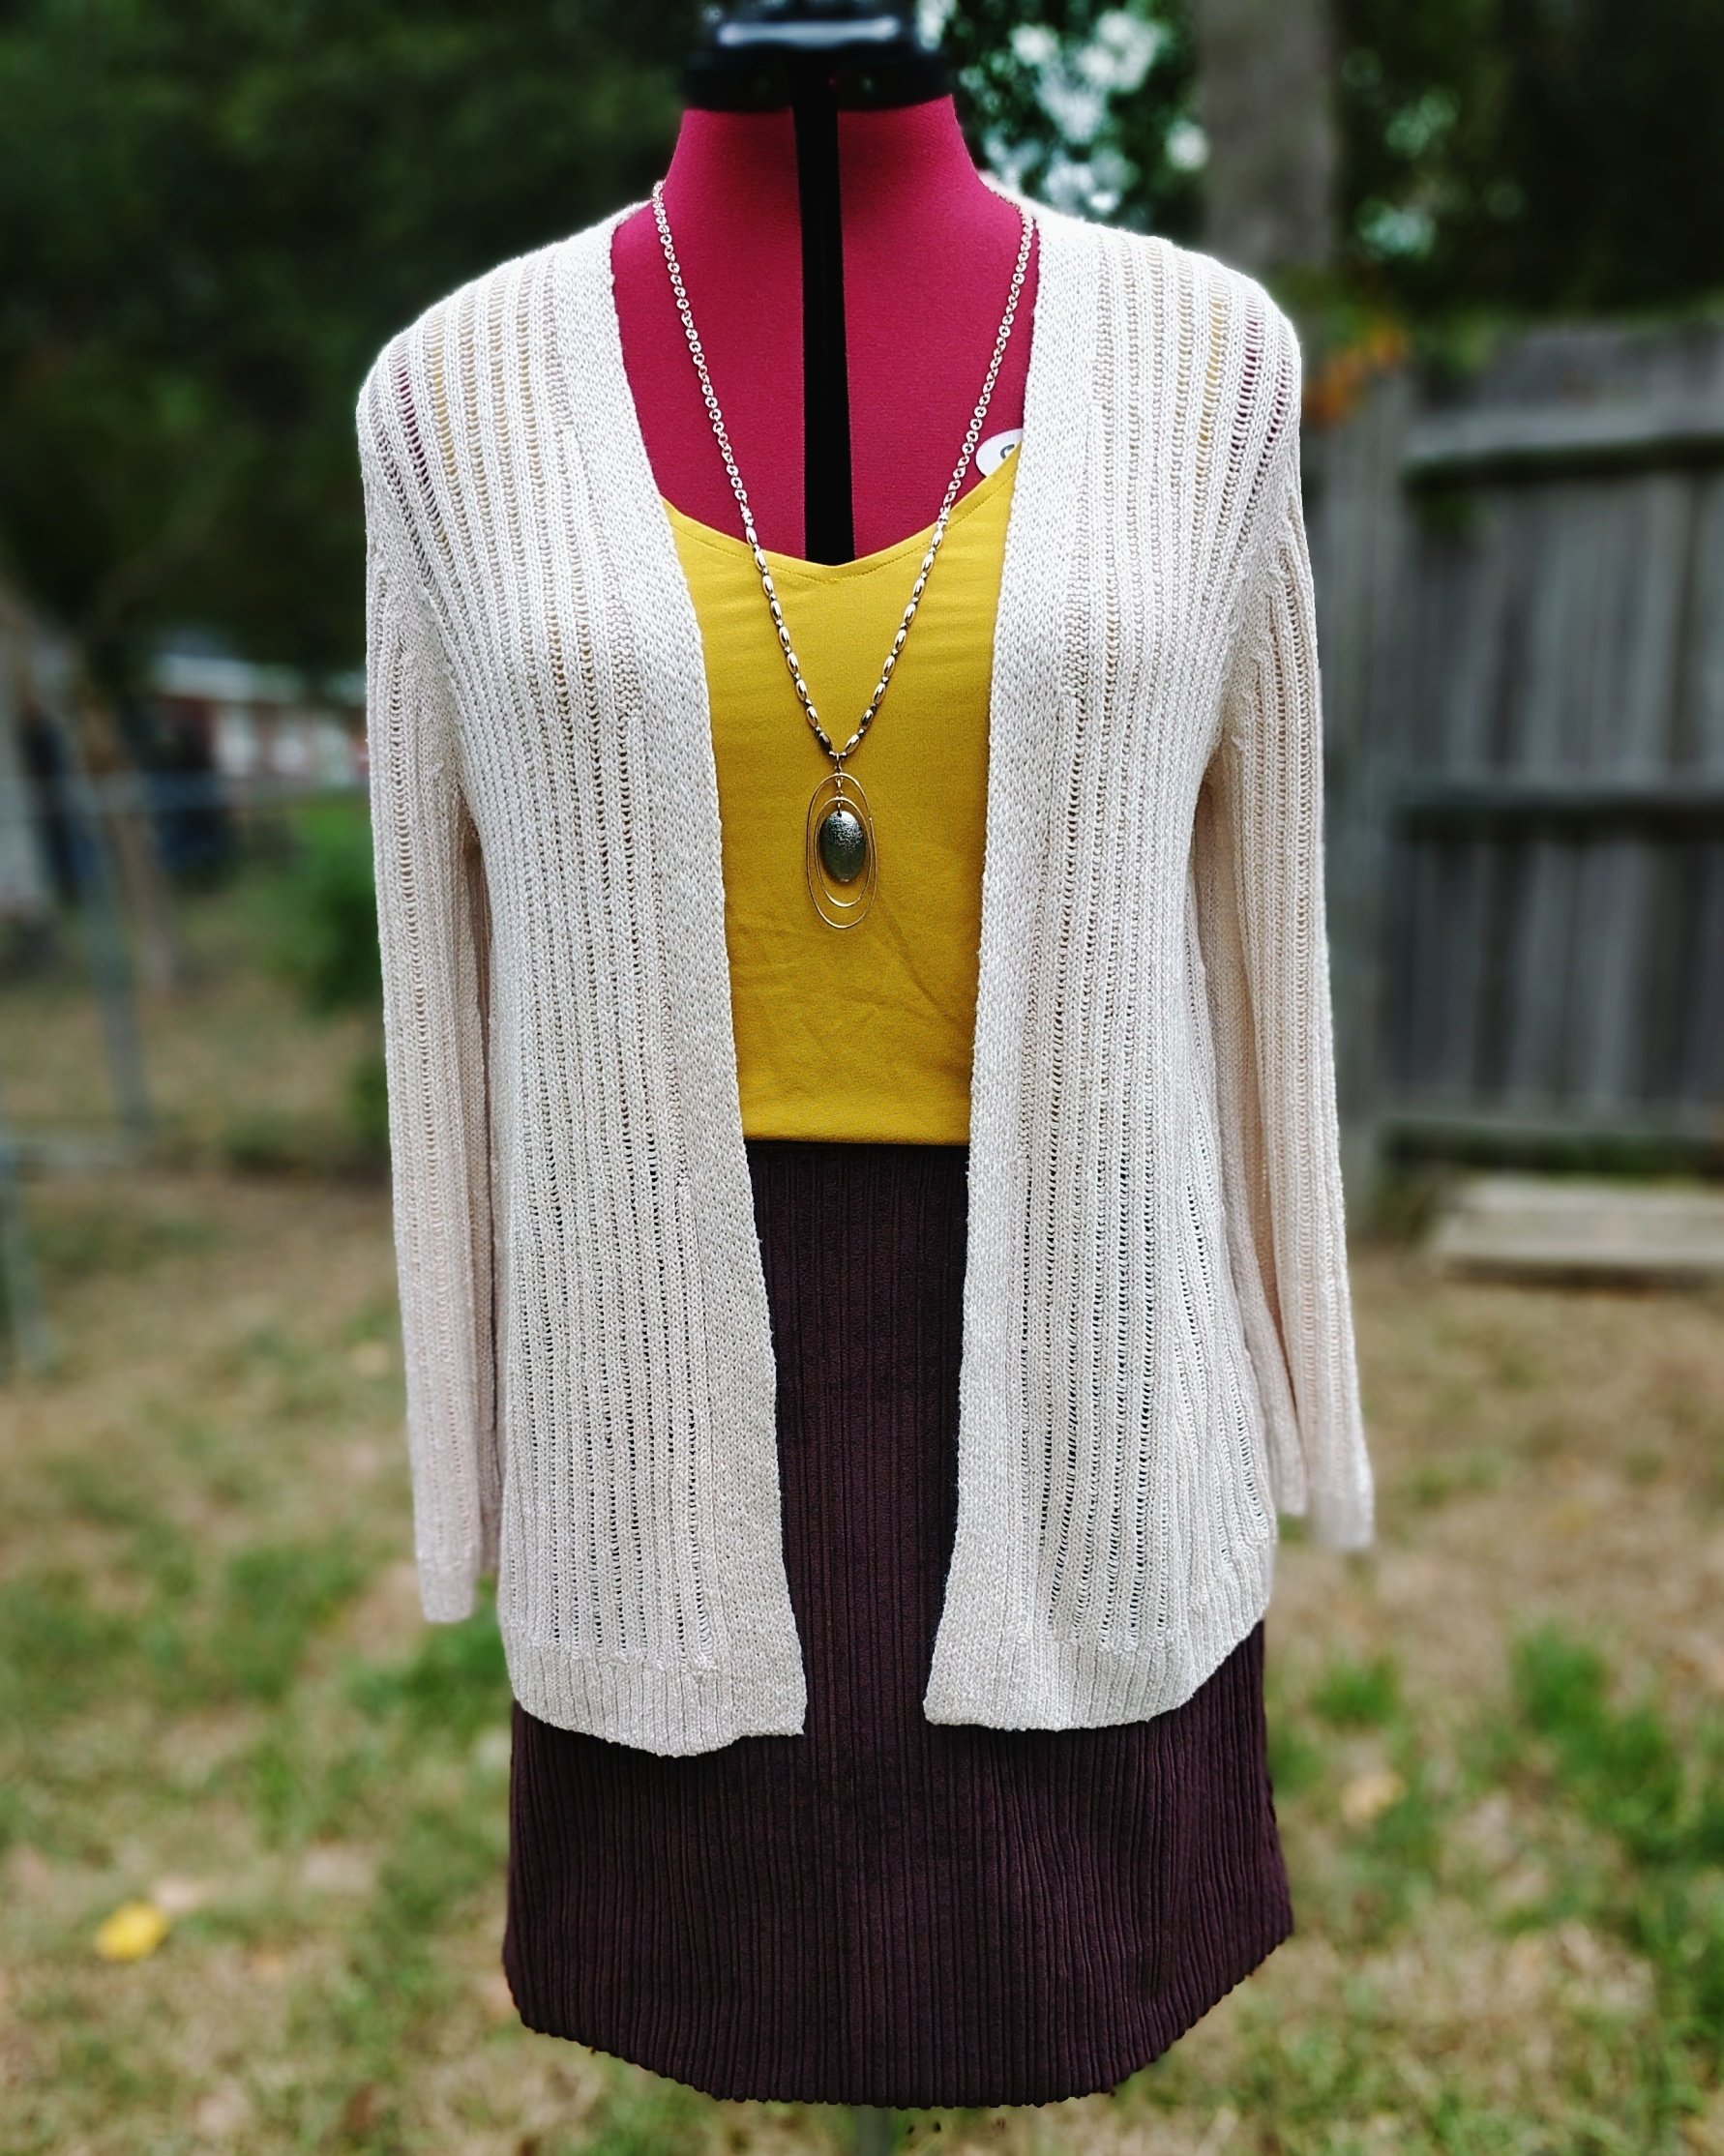
Piece #2 in my fall wardrobe capsule is complete: Style Arc’s Diana Top.

Style Arc Diana Top Review

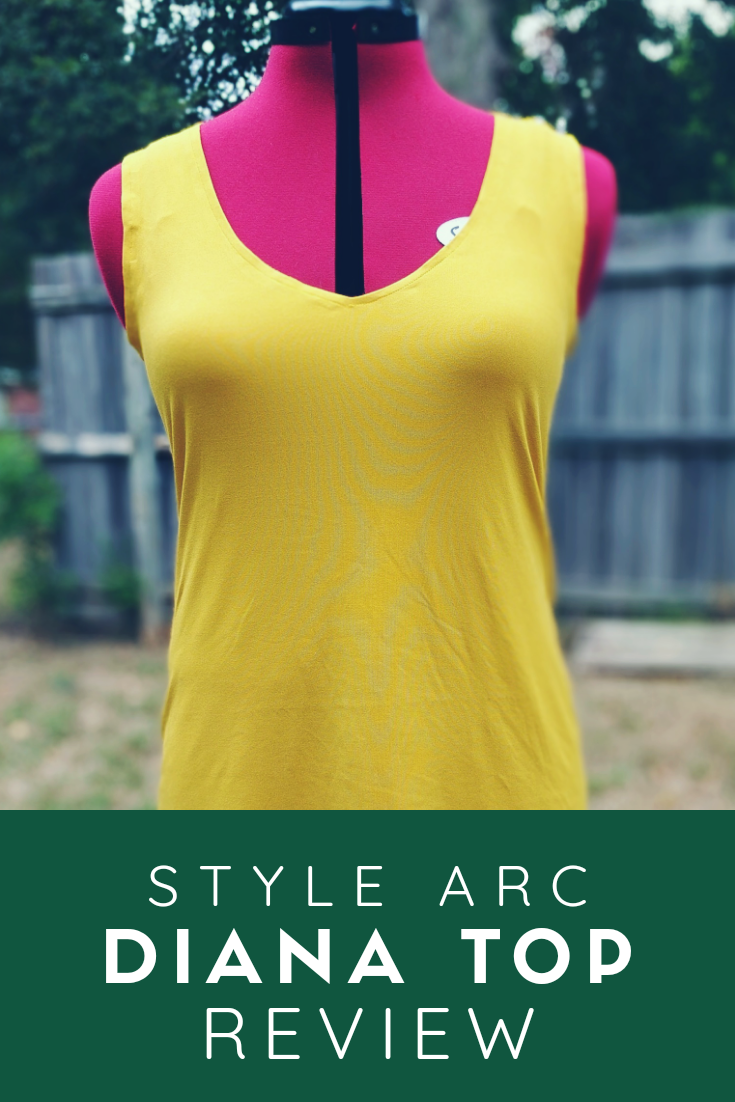
Fall in the South means hot, hot, hot weather until at least October. But I’m jealous of all y’all wearing beautiful fall colors. So, when I was thinking about a fall capsule wardrobe, I wanted lightweight tops in beautiful fall colors. Enter a piece of mustard DBP in my stash and the Diana Top.

Pattern Review of Style Arc’s Diana Top

Description: Attractive neckline slightly fitted top

(You should know here that Style Arc Patterns are known for their brevity. That includes construction instructions.)

Pattern Pieces: I purchased the PDF format. The download was simple and the pattern taped together easily. I recommend that you print page 3 of the PDF first. This page has a square to measure to make sure your pattern is printing at the appropriate size. Make sure you printer is not set to “Scale to Fit”.

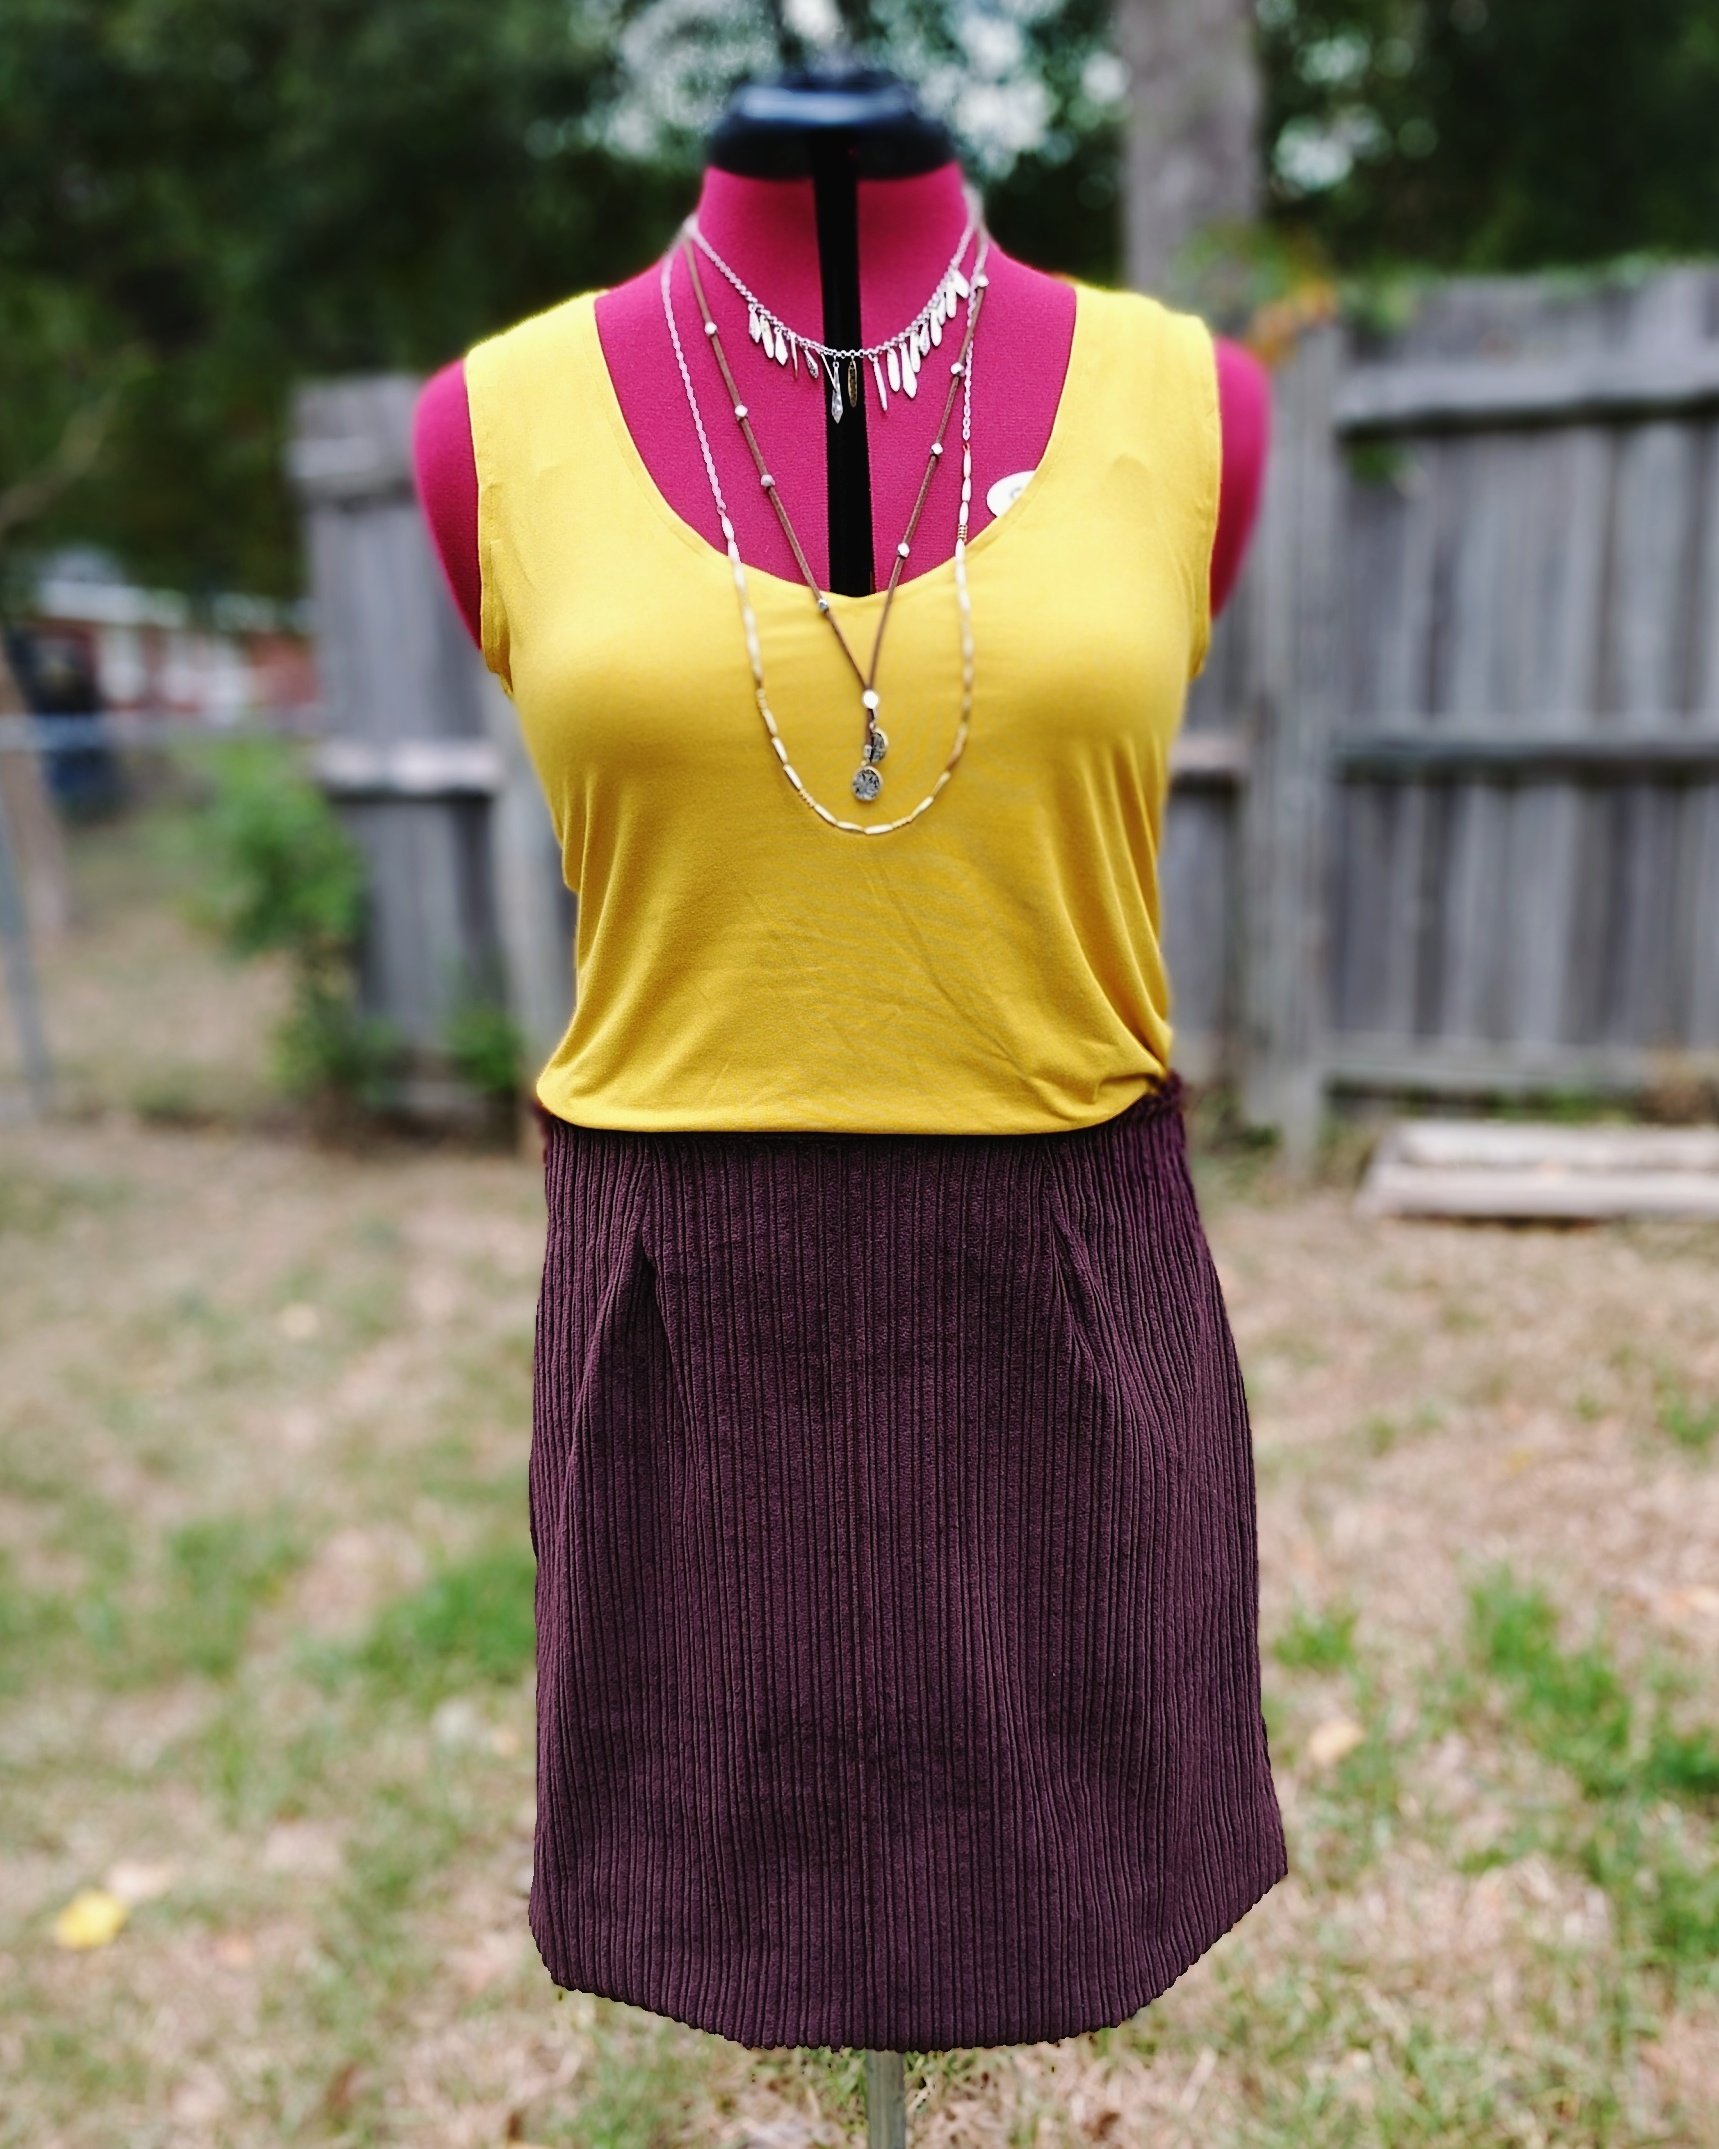
Fabric: The pattern suggests stretch jersey or knit singlet. I used a Double Brushed Poly from So Sew English. The fabric is super soft, a bit clingy, and a little bit warm.

Sizing: Style Arc sells their designs in single sizes. When you order, you get the size you ordered, plus the sizes on either size of that. Per their sizing chart, I always order a size 10. I also received sizes 8 and 12 in my downloads. I cut a size 10 in this pattern. The only change I made was to lengthen the pattern by 4 inches for a longer tank.

Construction: Again, I will point out that Style Arc has very brief construction instructions. In fact, they only list 8 steps for this garment. For that reason, I wouldn’t recommend this pattern to a very new sewist. But, it still was a simple sew.

This piece can be put together with a serger or a sewing machine. I used my sewing machine with a stretch needle and a stretch stitch. It’s a simple tank, so it’s just stitching the sides and shoulders together, and them hemming the neckline, armholes, and bottom.

Just a note, the pattern instructions tell you to “Fold under the neckline hem”. I had to pull out the hem gauge and measure the pattern edge to the fold line to see exactly how deep that hem should be. Not anything difficult, just one of those things that might not occur to a brand new sewist.

I enjoy Style Arc patterns because they fit me! The are designed for rectangles like myself. I’m finding lots of newer independent designers are drafting for pear or hourglass shapes and that’s just not my body shape.

Style Arc Diana Top with sweater

Would I recommend this pattern?

Absolutely, to anyone with a bit of experience. Again, it’s not a difficult sew, but the instructions are sparse. I’ve stitched up 5 different Style Arc patterns and I’ve been pleased with them all.

Would I recommend this fabric?

Well, maybe. Personally, I don’t love double brushed poly. Yes, it is super soft, but it can be clingy and hot. It can also be challenging to sew with, but a walking foot, a stretch stitch, and, most importantly to me, a stretch (not jersey or elastic) needle, the task is much simpler.

I would also highly recommend the fabric shop So Sew English. I found them on Facebook were they post bundles and updates very regularly. Shopping was quick and the fabrics I’ve ordered have been exactly what I was looking for.

Simplicity 3782: A Ren Faire Costume

SIMP3782

We needed a Ren Faire costume.  The 6th grader needed to dress as Isabella d’Este, an Italian Renaissance noble woman.  This lady: isabella d'este

We could have purchased a crushed velour costume that looked like most of the others.  But, this Momma can sew!

Here’s my review of  Simplicity 3782

Description:  Misses’ Elizabethan Costume (dress, underskirt, bum roll)

Sewing level:  Advanced beginner (Really.  I promise.)

Addie’s favorite element:  The shoulder rolls!

My favorite element:  The shoulder rolls.   (And the bum rolls.  It gave the back of this heavy dress the perfect poof.)

IMG_20140420_204725_721

Addie’s least favorite element:  It was heavy and hot.

My least favorite element:  Sewing the skirt to the bodice.  Pleats, gathers, boning, heavy fabric.  Wasn’t impossible but very difficult.

Biggest change:  We really didn’t change anything about the construction of the dress.  We did adjust the trim placements to work with our choices.  We left off some of the lace on the front for a simpler look but embellished the shoulder rolls with ribbons to mimic a dress we saw in one painting of Isabella d’Este.

Fabric:  Addie selected all the fabrics for the dress at one of our local fabric stores.  It was fun watching her choose the fabrics because she knew what she wanted, but she’s also frugal like her Momma.  She found the shiny brocade first.  Knowing it might not wear well, I encouraged her to use it for the sleeves.   She stumbled onto the peachy/brown upholstery fabric and loved it.  I was thrilled to find it was on clearance for $3.99 !  This meant we could spend more on trims!  The underskirt front panel is a crepe back satin and the other panels are white broadcloth.  The green/blue/orange trims were chosen to pull all the colors together.  If you plan to make this dress, remember that it has no modern closures.  Grommets, cordings, and grosgrain ribbon are musts.

IMG_20140419_165353_478

Pattern:  I followed the written instructions and found no problems with them.  The pattern pieces were also easy to use/understand.  There were A LOT OF PIECES.  The dress went together easily, but beware:  upholstery fabrics can get heavy!  The shoulder rolls were the part I was most concerned about, but they sewed together nicely.  I hand tacked on the ribbon trim that we added. Boning is not scary.  I repeat, boning is not scary.  The instructions were easy to follow.  Essentially, you are just making vertical casings.  And don’t try to skip it.  The boning gives the structure that Elizabethan costumes are known for. When it came time to attach the skirt to the bodice, I enlisted my hubby’s help.  He held the skirt fabrics so that the weight wasn’t working against me.  It did take me two tries to match the trims! We borrowed a poof for her to wear under the skirts.  And the bum roll is a MUST!  It poofed (is that even a word?) the back of the skirt just enough.

IMG_20140425_125627_318

Conclusion:  Costumes aren’t hard.  This one took about 12 hours to complete.  It was basically a lot of straight seams.  I stitched it up on my little Janome 9-stitch—proof that you don’t need a big fancy machine to make a beautiful garment.  The fabrics can get pricey.  Watch for sales.  Addie made some great choices and we spent less than $100. However, it would be easy to spend upwards of $250 just on the fabric and trims.  If you’re looking for cheap and quick, just buy one.  If you are looking for a costume that will stand out and be a treasure, try this one.

Review of Butterick B5600

101_1805Butterick describes this pattern as a misses’ dress that is semi-fitted, straight, above mid-knee dress with front darts, back pleats, self-faced yoke front and neckbands, side seam pockets, outside casing with elastic, self ties and a stitched hem. I made the basic dress, modifying the sleeve to use the fabric I had available.

My favorite element:  The side seam pockets!  I love pockets!

My least favorite element:  The outside casing with elastic.  I love the look it gives the dress, but it made mine too bulky around the middle.

Biggest change:  I knew I would wear a belt with this dress and the self ties would have to go.  I created the casing and ran the elastic from front facing, around the back to the other front facing, stitching the ends in place, eliminating the need for self ties.

Fabric:  This is a 100% cotton that I grabbed off the sale rack at Hancocks.  It feels like a lawn, but is just a little bit heavier.101_1806

Pattern:  I basically followed the written instructions and found no problems with them.  The pattern pieces were also easy to use/understand.  The dress took my about 4 months to complete:  1 hour to cut, 4 months to sit unfinished, and about 1 1/2 hours to actually stitch up. 

I won’t be making this dress again, because I have another dress pattern I like that is very similar.  If you don’t have a straight shirt dress pattern that you’d love, this would be a great one to try.  Grab it at a 99cent sale and give it a go, particularly if you are rectangle like me!

Simplicity 2211: Lisette Skirt and Top

***Edited May 9, 2014:  Two years later, this is still a favorite post on this blog.  These Lisette patterns were so stinking popular!  Simplicity 2211 is the Market top and skirt.  As of today, the pattern was still available only in certain sizes on Simplicity.com.  If you’ve stitched up this top or skirt or both, I’d love to see them.  Just leave the link to your post in the comments.***

Simplicity 2211


After blogging about this top back in July, I finally took the time to finish the skirt!  I love these Lisette Patterns.  You can find my pattern review here, but here’s the nitty gritty.


I love the instructions in these Lisette patterns.  I followed the instructions by the letter on the shirt, without any difficulty. While I could have put the skirt together with my eyes closed, I followed the instructions to see if it was worth recommending the pattern to my sewing students. It definitely is!

Simplicity 2211 Lisette Skirt Front

The skirt is really cute, but I wish, wish, wish it had pockets! I also prefer an invisible zip to a lapped zipper, but that was an easy fix.

I used cotton poplin from the Lisette line for the top and a white canvas for the skirt.

Simplicity 2211 Lisette Skirt Back

I probably will not make the skirt again, as I have so many other skirt ideas rumbling around in my head. I would definitely recommend the pattern to others, even beginners. I think Lisette’s extra tips are well written, easy to understand, and perfect for novices. If you decide to make the skirt, take advantage of your blind hem foot to help you get the perfect topstitch along your skirt panels.

This is a really cute outfit and will be perfect for the spring (when it actually gets here on the calendar!).