I have a handful of sewing patterns from my Grandma’s stash. I pulled them out the other day for inspiration and noticed that the sizing on some of them looked as though it might fit me. Jackpot! I decided it was time for me to begin sewing vintage patterns.
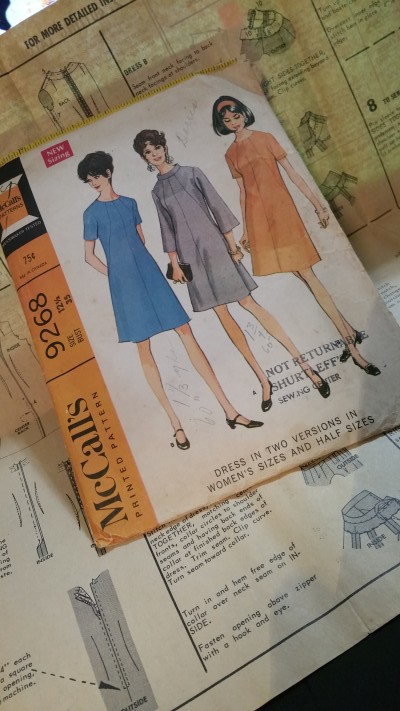
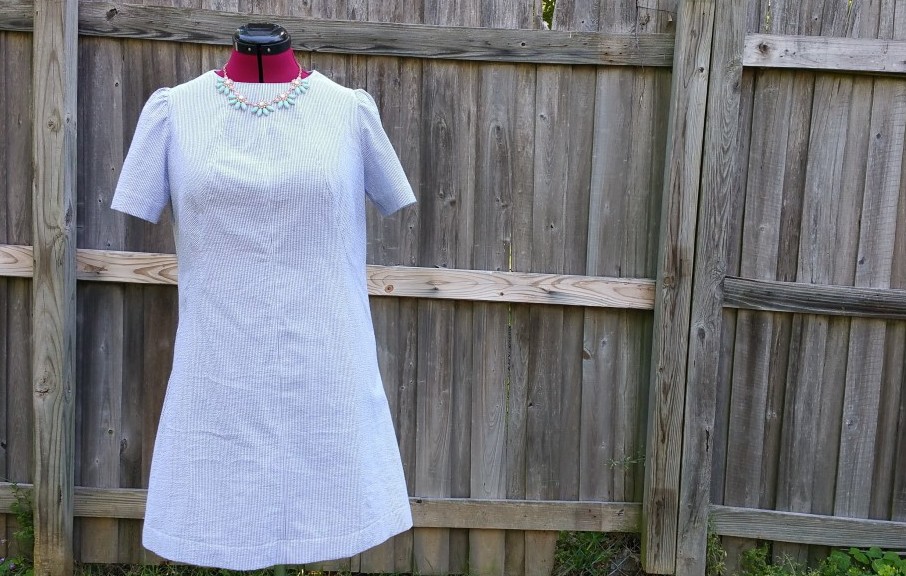
I love seersucker. I’ve sewn up seersucker for many, many babies, but I’ve never sewn up seersucker for myself. It was about time. I decided that the shift in McCalls 9268 would be the perfect match to my navy mini-stripe seersucker.
Review of McCall’s 9268, copyright 1968
From the pattern envelope: A-line dress, lightly shaped by center and side front seaming and vertical back darts, has center back zipper. Dress may have short or three quarter length set-in sleeves, and may be underlined. Short sleeved dress has faced and interfaced neck, side front seams may be stitch trimmed. Dress with faced bell sleeves has bias band collar included in neck facing seam. Collar and neck are interfaced.
I’m certain my copy of this pattern is my grandmother’s as it has her name written on the front along with notes about how much 60″ fabric she’d need to stitch it up. The tissue has been cut out and a pattern layout for view A is circled. I decided to make an underlined version of view B.
Pattern Sizing
One difference in vintage patterns and today’s patterns is the sizing. Most patterns today are multi-sized patterns, because frankly, most of us don’t fall into one size. This pattern is a single size-12 1/2. It is considered a “half size”. Here’s how the sizing chart compares:
- Pattern from 1945, size 12: Bust-30, waist-25, hip-33.
- Pattern from 2016, size 12: Bust-34, waist-26.5, hip-36
- Pattern from 1968, size 12 1/2: Bust 35, waist-28, hip-37
Those measures are very close to mine, so I didn’t make any changes to the sizing before I stitched it up. Next time, I’ll decrease the bust by about 1/2 an inch. After putting the dress on, I did taper the side seams about 1/2 an inch at the waist.
Don’t let a single size pattern scare you off. If your largest measure matches, you can tweak the rest of the pattern to fit you. For this dress, I knew my hips would fit and with all the other seams, adjusting for the chest and waist was no problem.
Details, Details, Details
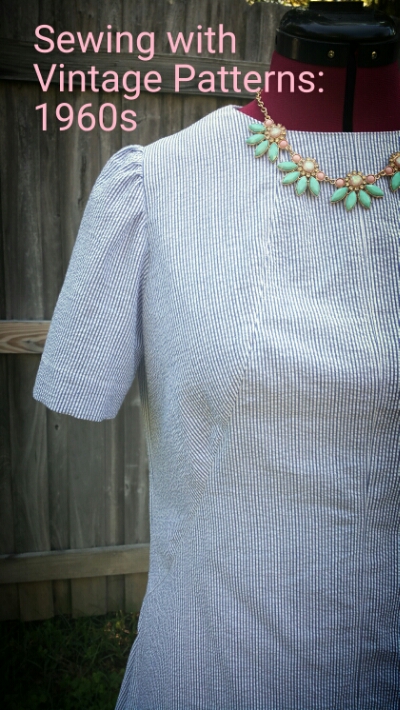
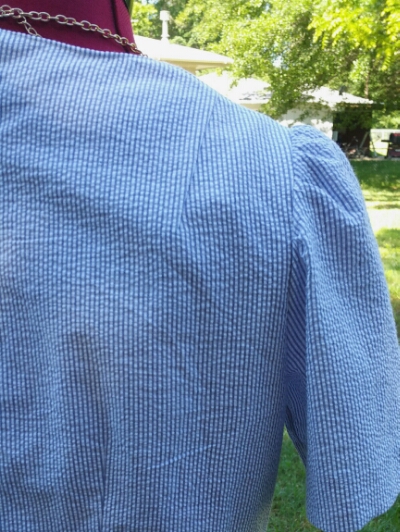
Details are key in vintage patterns. A great feature of this pattern is the shoulder dart. The dress has interesting front seams that wrap to the sides. These are similar to princess seams and make the dress easy to alter.
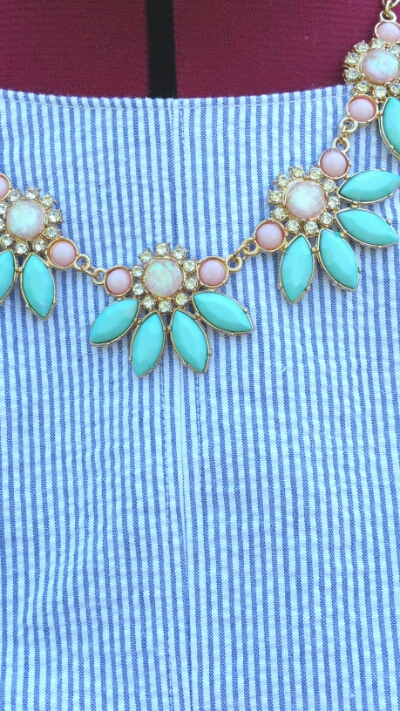
The pattern instructions have topstitching on either side of every seam. This step is a must as it is a detail that just makes the dress. I top-stitched the center front, the front side seams, and the side seams.
Finishing seams
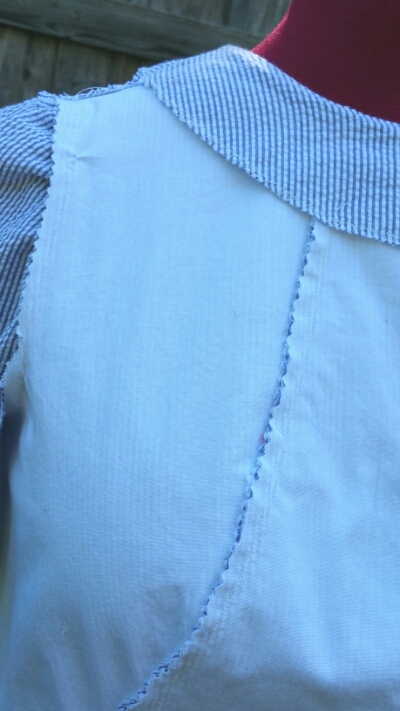
I finished my seams the way my grandmother always did. I finished the neck facing with a zig-zag stitch. Then I used my pinking shears on the my seam allowances.
Underlining
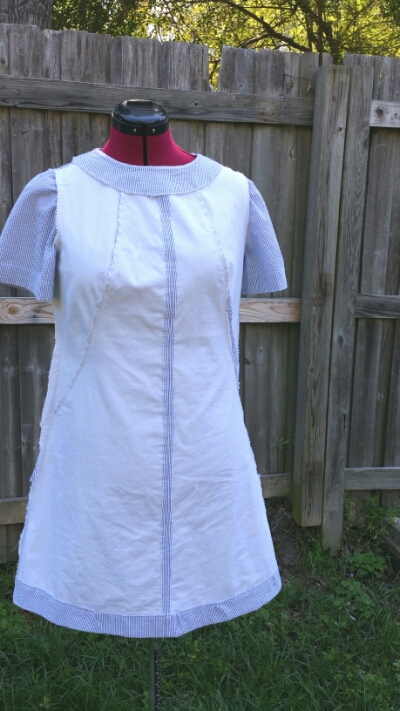
My grandmother tried to teach me that the inside of my garment should be as neat as the outside.
One other note: I was slightly afraid of lining the dress completely. This pattern has you baste the underlining and the main fabric of each piece together and then stitching your dress up, treating both pieces as one. Piece of cake.
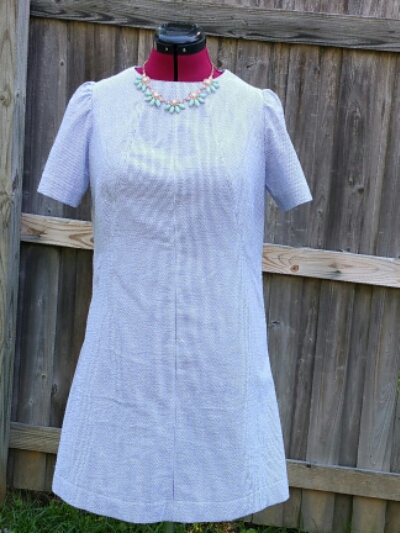
So what did we learn about sewing vintage patterns?
- Don’t be scared off by single size patterns.
- Vintage patterns have great details.
- Put up your serger and finish your garment the old fashioned way.
- Make the inside of your garment as pretty as the outside.
- Underlining is easy. And necessary.
Tell me? How many of your mom’s, grandmas’s, or other vintage patterns do you have? Have you tried one yet? What’s stopping you?

