A serger is a wonderfully helpful, time-saving machine—if you aren’t afraid to use it! Over the next few Tuesdays, I hope to share a few serger tidbits that can take the intimidation out of this sewing room essential.

So who needs a serger? We’ll anyone who sews on a regular basis. I’m not talking about your friend who only uses her sewing machine every other Spring to hem pants. I’m talking about you—the hobby seamstress who loves making pillows and napkins and curtains and clothes. I’m talking about the hobby seamstress who wants to take her hand-made gifts to the next level.
Why do you need a serger? Well, for starters, a serger allows you to complete your sewn pieces with a professional finish. A 4-thread serger can also stitch and overlock the edges at the same time, saving you some time. A serger stitches so much more quickly than your sewing machine.
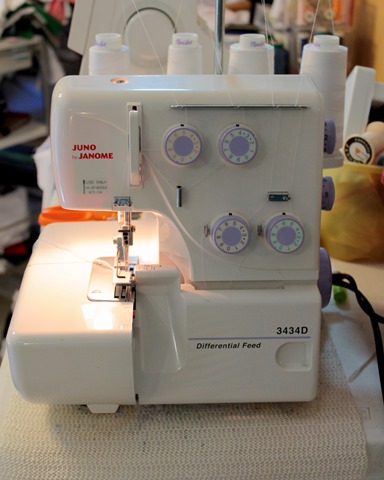
So…you already have a serger? Great. Go get it out of the box and set it up. Does it look kinda like this?

My machine is a Janome Juno 3434d. It’s on the less expensive end of the serger spectrum. It doesn’t chainstitch or coverstitch. It also doesn’t have the air-threading that the Babylocks have. It does have all metal parts and can gather, blind hem, flatlock, and, of course, do a fabulous overcast. This little machine, in my opinion, is perfect for the home seamstress.
There are a few parts you need to know on your machine. I’ve labeled them below.

To use a serger, you just place your fabric under your presser foot and sew:
One major difference is that the knife trims off excess seam allowance before the stitches are made. You’ll want to avoid using pins for this very reason.

There are two ways to thread a serger, if you don’t have one of the fancy air-threading machines: from scratch or tying off.

To thread from scratch, follow the instructions in your manual. The diagrams are probably also on your machine. You MUST start by threading the upper looper and then the lower looper. Then you can thread the right needle and then the left needle. I’m not going to lie. This method can be a bit more tedious, but it is possible. A pair of tweezers will make the job easier.
If your machine is already threaded, tying off is the easiest way to go. To tie off:
1. Clip the needle threads just above the eye of the needle.
2. Hold the existing chain and sew until the chain consists of only 2 threads. (These are remaining threads your looper threads.)
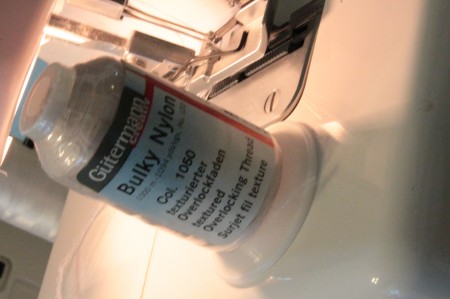
3. Cut the looper threads near the thread spools. Replace the spools with your new threads. Tie threads from your new spools to the existing threads with overhand knots.
4. Turn your looper threads tension dials to 0. (Write down the original setting so you can go back to it.)
5. Gently pull the upper looper thread behind and to the left of the needle until the knot is behind the needle. Repeat for the lower looper thread.
6. Replace the two thread spools for the needle threads and rethread the needles.
7. Return your tension dials to the original settings. Hold all the threads together behind the machine and sew pulling the thread chain.
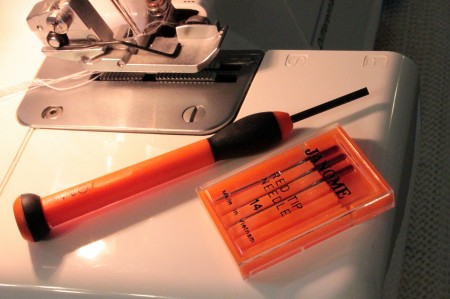
Well, how’d you do? Is your machine threaded? Great. Next week, I’ll talk about threads and needles and such.

Week 1: The parts of your machine and how to thread it
Week 2: Selecting needles and threads for your project
Week 3: Balancing the tension on your machine
Week 4: A serged pillowcase
Week 5: Hemming with your serger
Week 6: Gathers and elastics
Week 7: A ruffled pillowcase