For his 3rd grade book report, someone decided to be Christopher Columbus. This Someone was supposed to be George Lucas, but that would have been too easy for Momma. So instead, Someone decided he needed a character with a costume. Fabulous.
Since my daughter’s middle school just finished a Ren Faire, I thought about borrowing/buying a costume . Same time period, right? But hey, this Momma can sew. So I did!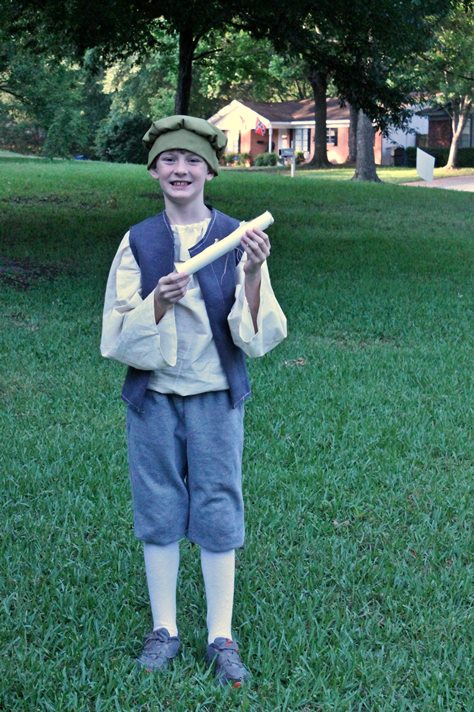
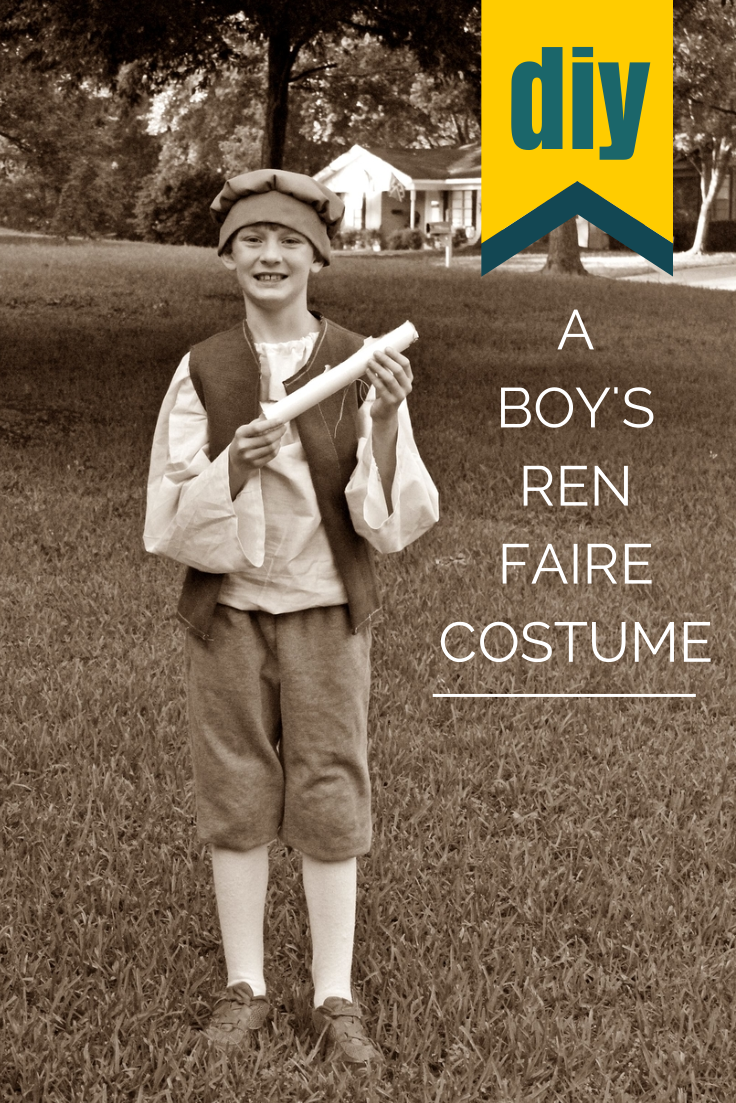
I’m posting the instructions below because I know a few boy Mommas who will need Ren Faire costume ideas for next year. The measurements included fit my 9-year-old. Here’s what I did:
A Boy’s Ren Faire Costume
Sewing Level: Advanced Beginner
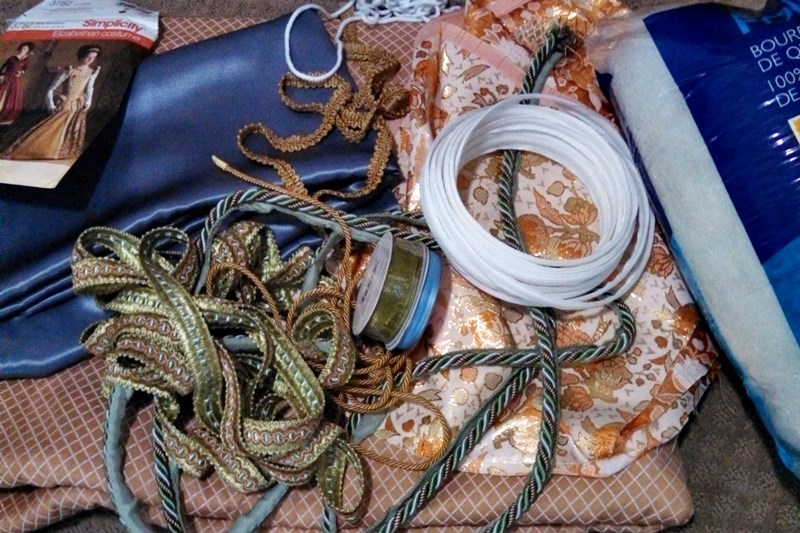
Cost: I spent less than $16 by using scraps.
Size: These measurements fit my 9-year-old.
The leggings: Dad’s white knee socks. That’s easy, right?
The pants: Gray jogging suit pants that are way to short too be worn any other way. The pants are tucked into the socks and ballooned over the knee.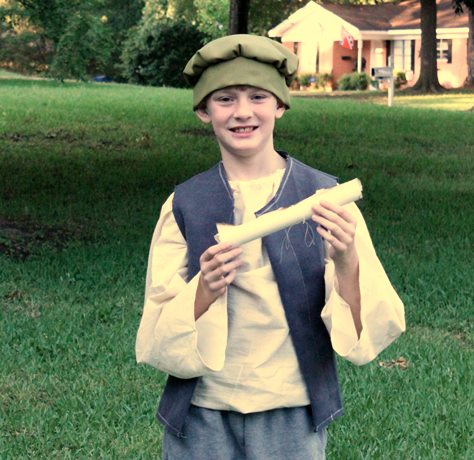
The shirt: This piece was made out of a thin, cheap muslin we had lying around.
Supplies: 2 yards of a thin fabric, 2 yards 1/4 inch cord, your sewing equipment and tools.
1. Start with 4 rectangles, each measuring about 17 x 32.

2. Fold the rectangles in half lengthwise. (You should now have 4 pieces folded into 8 1/2 x 32 rectangles.)
3. From the raw edge, mark over 9 inches on the long edge and down 3 inches on the short edge.

4. Draw a curve line connecting these two marks. This is your arm hole.

Before you panic, here’s my little trick. A coffee cup for the curve and a ruler for the straight edge.

5. Unfold your pieces and with right sides together, stitch or serge two panels together along the arm hole.

6. Unfold these and stitch a 3rd piece together along the next arm hole.

7. Add the 4th piece to the third and then stitch the 4th piece back to the first, creating a circle.

8. Lay your garment flat, right sides together. Two pieces should be flat. These are your front and back. The other two pieces will each be folded in half. These are your sleeves. Stitch the side and sleeve seams together, starting a the bottom and running all the way to the edge of the sleeve.


9. Decide on your back piece. Find the center.

10. Mark 1 inch in and 8 inches down. Connect these marks with a straight line.

11. Cut along this line, creating a V in the back of your peasant shirt.

12. The hem this cut, I fold in another inch along the top and narrow the fold to a point. (Please ignore the iron spit stain. I think it just adds character!) Top stitch this hem in place.

13. Form a casing along the top neck edge. Do this by folding down the top edge 1 inch all the way around.

14. Top stitch this in place, but leave the ends open.

15. Thread the cord through the casing. After my son tried the shirt on, we chose to shorten the cord a little. You can if you wish.

16. Hem the sleeves to your desired length.
This shirt was worn with just the bottom most edge tucked into his pants and the shirt ballooning over his waist.
Just a note for my CMM friends! This shirt would work for Colonial Days too!
The hat: This fabric was a remnant in the “fashion fabric” bin at Hancock’s. I chose to use a second piece of scrap as additional umphf in the hat.
Supplies: 3/4 yard of fashion fabric, 1 yard 3/8 inch elastic, sewing equipment and tools.
1. Cut a rectangle 6 x 25.
2. Cut a circle (or almost a circle) about 21 inches in diameter. (I chose to cut a second circle of another fabric is use for body.)

3. Fold the rectangle lengthwise and press a nice crease in.

4. Unfold the rectangle and fold width wise. Stitch the ends together creating a circle.

5. Cut a piece of elastic as long around as the boy’s head. Stitch the ends together creating a circle.
6. Pin the center front of the elastic to the center front of the band, about 1 inch from a raw edge.

7. Keeping the elastic flat on the band pin the elastic to the band along the sides. This will cause the fabric along the back of the band to bunch up. That is what we want! Stitch the elastic in place about 1/2 between center front and center back on either side.

8. Fold the band back together lengthwise, matching raw edges, and baste them together. (Sorry, I forgot a pic of that step!)
9. Run a basting stitch about around the edge of your circle piece.

10. Gather your circle and attach right sides together to your hat band. Stitch with a 1/2 inch seam allowance.

The vest: I apologize. I didn’t snap photos or take notes of my steps while creating the vest. I wasn’t sure how I wanted to create it, so I just draped and drew and cut and hoped for the best. I used one of Christopher’s button up shirts to give me the basic idea for neckline, armholes, etc. I recommend that you purchase a vest at your local thrift store or grab a pattern when they go on sale for less than $1.